New to On Bike Share? Get Started Here
Most Frequently Asked Questions
1. How Do I Replace Batteries on the Smart locks?
- Use the provided tool to open the battery compartment.
- Remove existing battery.
- Install charged battery. Be sure to align +/- of battery in lock.
- Close lid tightly and then tighten bolt with tool.
2. How Do I test the Bikes/Locks
Use the On Bike Maintenance App
1. From the Google Play or Apple store, download and install the On Bike Maintenance App on your phone
2. Go to the racks and open the On Bike Maintenance App
3. Login using your admin email and password
4. Click on each bike and use the UNLOCK button to test unlock each bike (Note: if the bikes unlock, then the system is working correctly)
Need Help? Download the Maintenance App Instructions
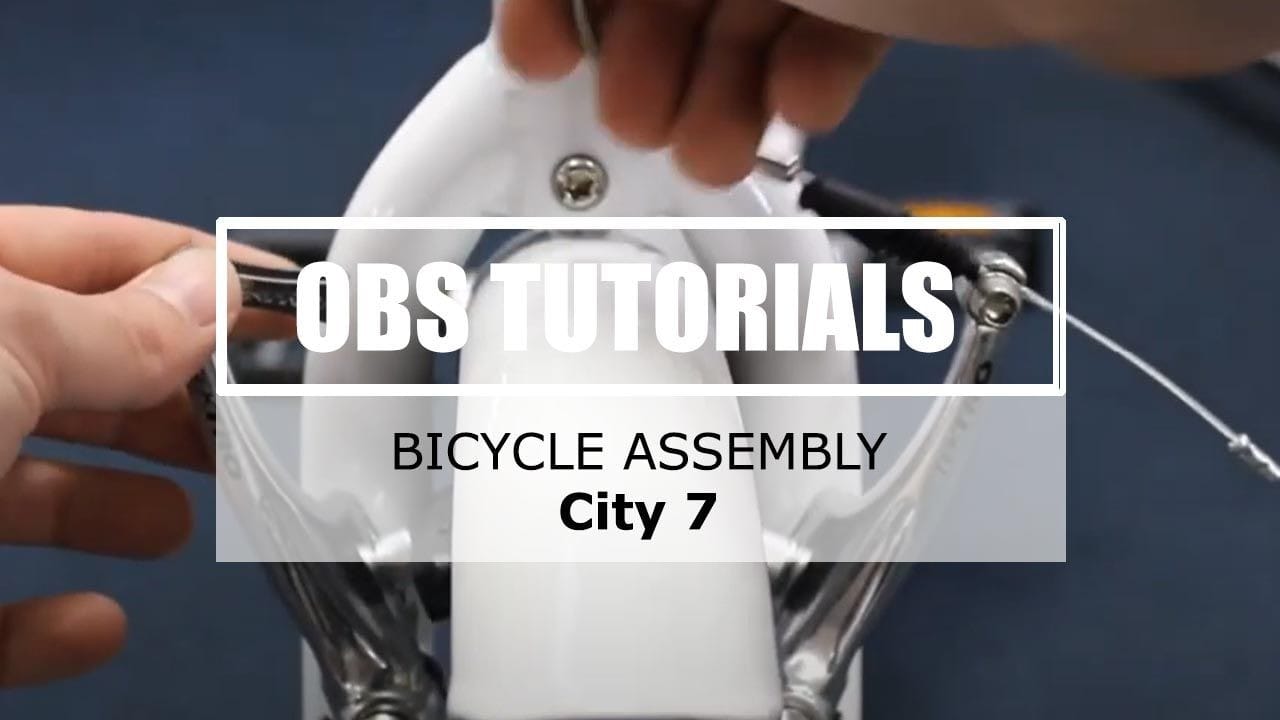
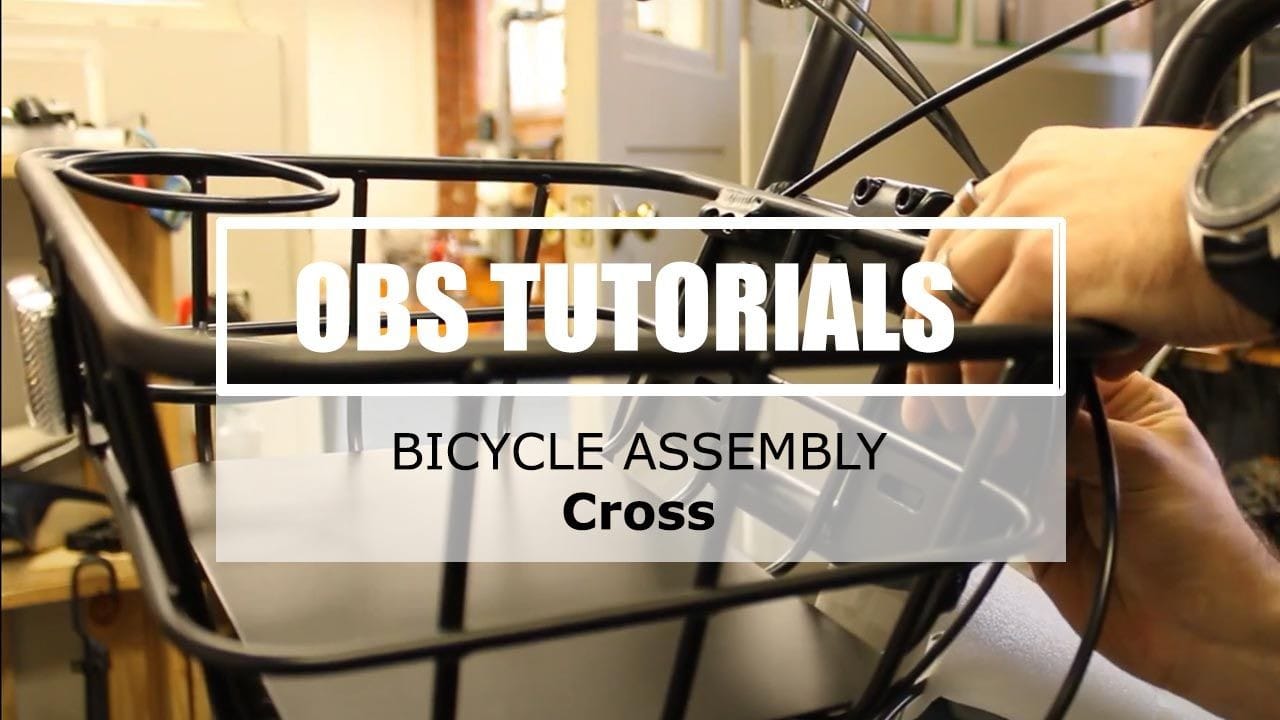
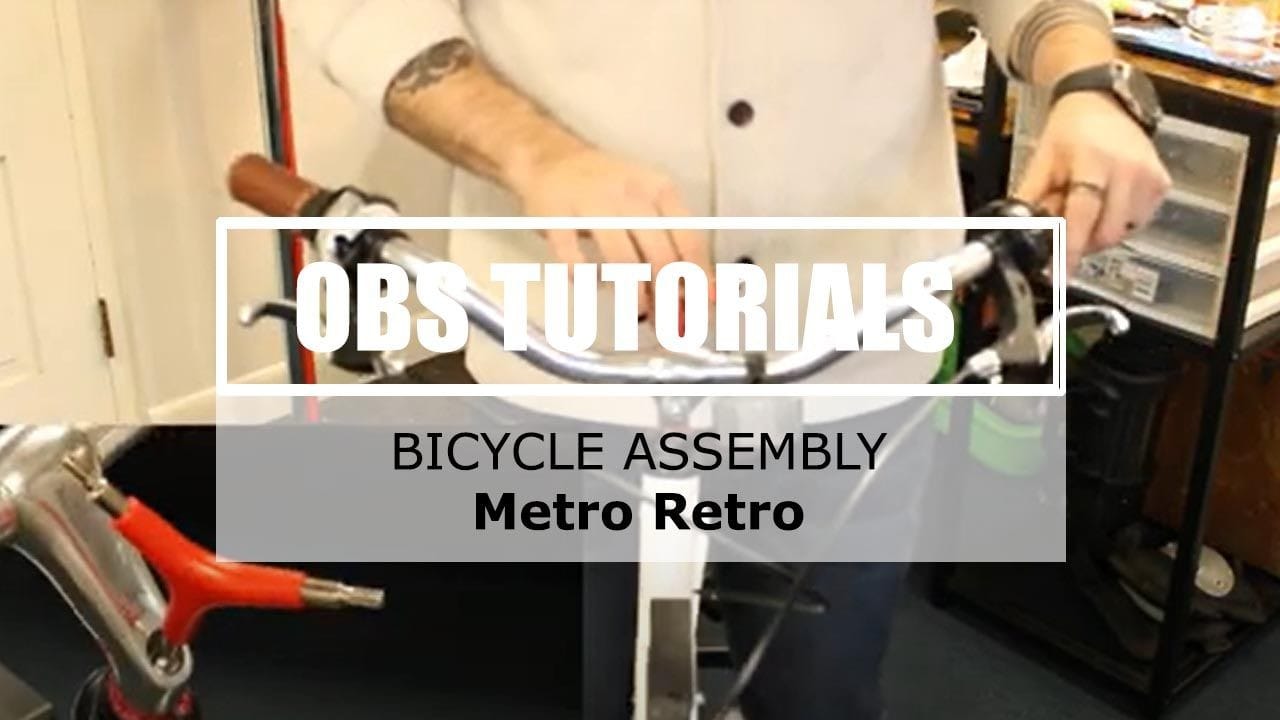
Bike Assembly

Video can’t be displayed
This video is not available.

Video can’t be displayed
This video is not available.

Video can’t be displayed
This video is not available.
City 7 Assembly
Cross Assembly
Metro Retro Assembly
Rack Installation

Video can’t be displayed
This video is not available.
Plan Ahead. Avoid Surprises.Planning ahead is the best way to get your system off to a great start. The first step is to select locations for your ‘bike stations’. Choosing the right bike station location(s) can save you a lot of time and frustration when the system arrives.
A ‘bike station’ can consist of any number of racks – depending on desired bike capacity and available space. The bike racks must be installed onto concrete. Concrete pads should be at least 3” deep, and meet the minimum measurements required for the desired number of racks, as provided in this guide.
If you are doing the work yourself, prepare all tools in advance. Locate the nearest power outlet if using a drill that needs to be plugged in. If hiring a contractor for the installation, be sure to provide them these instructions in advance. We recommend watching the rack installation video in advance of the installation.
If you have questions, please contact us at 401-475-8094.
- Bike Station Location
- Bike racks can be installed inside or outside, but must be installed into concrete.
- The bike racks do not require power. The locks on the bikes are battery powered.
- Bike rack locations should be level. Areas with inclines or declines may affect the docking/releasing of bikes from racks.
- When drilling, confirm there are no pipes, wires or heating elements below the surface.
- The best locations are those most convenient to riders, such as near building entrances or exists.
- We recommend installing the bikes in a location that is not easily seen from the street or accessible to the public.
- If possible, we recommend using camera surveillance for enhanced security.
- Bike Station Configurations | Side-by-Side Configuration
- Bike Station Configurations | Nose-to-Nose Configuration
IMPORTANT: Before You Begin Installation
Measure the working space and calculate the number of bikes that will fit in the space. Mark the locations for each rack and confirm spacing as well as setbacks from walkways and roadways. Street Setbacks and Spacing
- Spacing from street behind bikes: 103"
- Spacing from street beside racks to bikes: 60”
Tools Needed for Installation
- Tape measure
- Marker or pencil
- Masonry drill bit 3/8"
- Drill (Hammer drill recommended)
- Hammer
- 9/16" Wrench or socket
- Level
Installation Steps
STEP 1:
Place the rack in the desired location. Use a marker or pencil to outline the holes of the flange onto the base material.
STEP 2:
Drill the holes using a 3/8” drill bit appropriate for the surface you are drilling into. Make sure the holes are at least 3" away from any cracks in the base material. Holes should be at least 2.5” deep.
STEP 3:
Use washers to level rack if necessary. The height and angle of the rack pin must match the height of the receiving hole on the bike’s smartlock.
STEP 4:
Place washer on anchor, and thread nut onto top of anchor so the nut is fully threaded onto the anchor. The smaller diameter top of the anchor will extend beyond the nut.
STEP 5:
Using a hammer, tap anchor through hole on top of rack base and into the matching drilled hole in concrete. Hammer until rack is flat on concrete surface and bolt/nut is tight on top of rack base.
STEP 6:
Using a 9/16” wrench or socket wrench, tighten the nut to 20-25 ft/lbs of torque.
IMPORTANT
Once racks are installed, check to make sure bikes dock smoothly onto racks. Use the Maintenance App to unlock each bike and make sure it releases smoothly from rack. If the bike does not dock or unlock smoothly, check the rack angle and adjust as needed.
